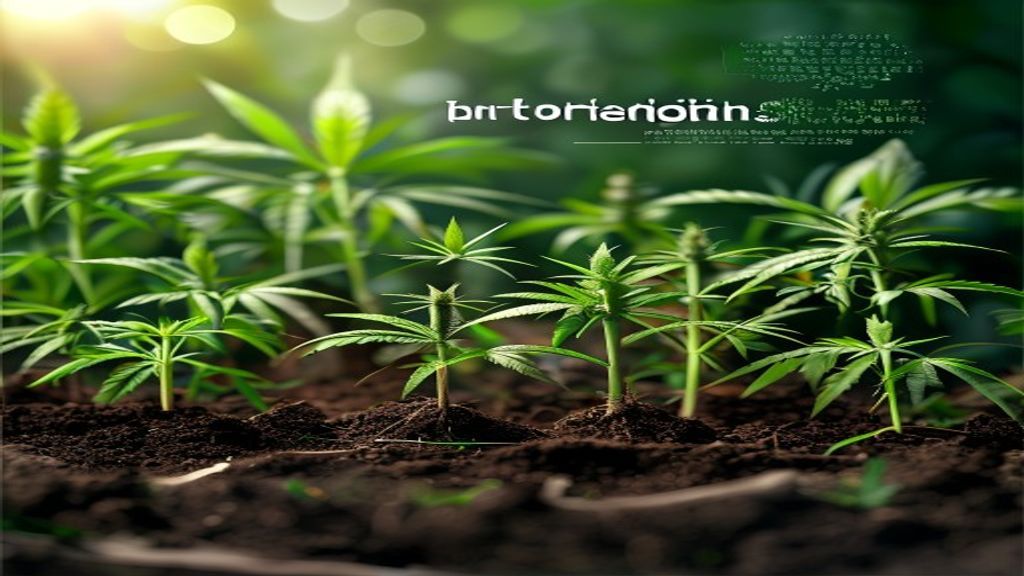
Mastering the physiological transition from a nursery environment to a larger growth medium is a critical milestone for any serious cultivator. Learning how to transplant cannabis seedlings requires an understanding of root architecture and the delicate balance of the rhizosphere. As a seedling exhausts the resources and physical space of its initial starter cube or small container, its growth rate will inevitably plateau—a phenomenon known as being root-bound. This condition restricts oxygen access and leads to nutrient lockout, which can permanently stunt the plant’s structural development and eventual yield potential. Successful transplantation is not merely about moving a plant; it is about minimizing transplant shock, a physiological stress response that occurs when the root hairs are exposed to air, light, or physical trauma. By adhering to rigorous environmental controls and precise handling techniques, cultivators ensure that the vegetative phase begins with maximum vigor. This guide explores the scientific principles and practical methodologies necessary to execute a seamless transition, ensuring that your cannabis plants maintain optimal metabolic activity throughout the transplanting process.
How to Transplant Cannabis Seedlings: A Professional Guide to Root Health
Identifying the Optimal Window for Transplantation
Determining the exact moment to move a seedling is vital for maintaining metabolic momentum. A primary indicator is the ratio of the leaf canopy to the diameter of the container. When the leaves extend beyond the edges of the pot, the root system has likely reached the container’s boundaries. At this stage, the plant requires a larger volume of substrate to provide the necessary buffering capacity for nutrients and moisture.
Furthermore, cultivators should monitor the frequency of irrigation. If a seedling requires water daily or shows signs of wilting despite regular hydration, the root mass has likely displaced too much soil, reducing the medium’s water-holding capacity. Checking the drainage holes for visible white roots is another effective diagnostic; however, waiting until roots circle the bottom extensively can lead to permanent structural damage and reduced nutrient uptake efficiency.
Substrate and Container Preparation
Preparation begins with selecting a final or intermediate container that promotes air-pruning and efficient drainage. While traditional plastic pots are economical, fabric pots or air-pots provide superior oxygenation to the root zone, preventing the circling of roots. The new substrate must be pre-moistened to a “field capacity” state—damp enough to hold its shape when squeezed but not saturated to the point of dripping.
Selecting the Ideal Substrate
The transition medium should ideally match the starter medium in composition to prevent osmotic shock. If the seedling was started in coco coir, moving it into a heavily amended super-soil can cause nutrient burn due to the sudden shift in electrical conductivity (EC). Inoculating the new medium with mycorrhizal fungi is a professional standard that facilitates rapid root colonization and enhances phosphorus uptake during the recovery phase.
| Container Type | Oxygen Access | Drainage Efficiency | Root Architecture |
|---|---|---|---|
| Plastic Pot | Low | Moderate | Prone to Circling |
| Fabric Pot | High | Excellent | Air-Pruned Fibrous Roots |
| Air-Pot | Maximum | High | Dense Lateral Branching |
Step-by-Step Instructions on How to Transplant Cannabis Seedlings
The physical act of moving the plant must be performed with speed and precision. Avoid transplanting during the peak of the light cycle; doing so in the early morning or evening reduces the evaporative stress on the leaves while the roots are inactive. Ensure all tools and surfaces are sanitized to prevent the introduction of pathogens like Pythium or Fusarium.
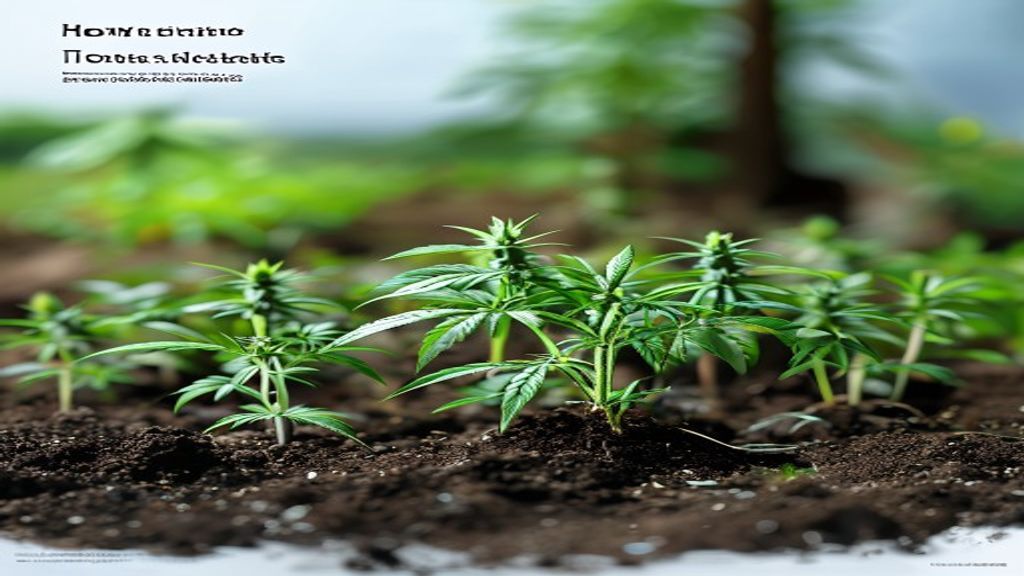
- Prepare the Hole: Dig a hole in the new container that is slightly larger than the seedling’s current pot. This ensures the plant sits at the same depth as before.
- Secure the Plant: Place your hand over the top of the starter pot, with the seedling’s stem positioned between your fingers.
- Extract Gently: Invert the pot and apply light pressure to the sides. The root ball should slide out intact. Never pull the plant by the stem, as this can sever delicate taproots.
- Placement: Immediately place the root ball into the pre-dug hole. Minimize the time the roots are exposed to direct light or air.
- Backfill: Gently fill the gaps with substrate, ensuring there are no large air pockets, which can cause root desiccation.
Post-Transplant Recovery and Environmental Management
Once the seedling is situated, immediate environmental stabilization is required. The plant’s ability to move water is temporarily compromised, so reducing the intensity of growth lights for 24–48 hours is advisable. This allows the plant to focus energy on root re-establishment rather than photosynthesis and transpiration.
Monitoring Environmental Parameters
The following table outlines the target environmental conditions for the 72-hour window following a transplant. Maintaining high humidity is particularly important as it allows the plant to absorb moisture through its stomata while the root system recovers.
| Parameter | Target Value | Rationale |
|---|---|---|
| Relative Humidity | 65% – 70% | Reduces transpiration stress |
| Air Temperature | 72°F – 78°F | Supports metabolic enzymes |
| Substrate pH | 6.0 – 6.5 (Soil) | Ensures nutrient availability |
- Transplant when the leaf canopy exceeds the pot diameter to avoid root-binding.
- Pre-moisten the medium to prevent dry pockets from wicking moisture away from roots.
- Use mycorrhizal inoculants to accelerate root development and reduce shock.
- Dim lights or increase distance for 48 hours post-transplant to mitigate stress.
Frequently Asked Questions
How long does transplant shock last?
In optimal conditions, transplant shock typically lasts between 24 and 72 hours. If the plant continues to droop or shows signs of chlorosis after four days, it may indicate root damage or improper pH levels in the new substrate.
Should I water immediately after transplanting?
Yes, a light watering with a diluted kelp solution or Vitamin B1 can help settle the soil and reduce stress. However, avoid over-saturation, as the new, larger volume of soil will hold moisture longer than the plant’s current root system can process.
Can I transplant autoflowering cannabis seedlings?
Autoflowers have a predetermined lifecycle and are highly sensitive to stress. While possible, most professionals recommend sowing autoflowers directly into their final containers to avoid the growth delay associated with transplanting.
When is the best time of day to transplant?
The best time is right before the lights turn off or during the early morning hours. This provides the plant with a period of low-intensity metabolic activity to settle into its new environment without the demands of high-intensity light.
About the Author