Cannabis cultivation is a discipline that bridges the gap between biological science and horticultural artistry. To achieve the highest possible quality and volume in a harvest, a cultivator must understand the intrinsic growth patterns of the species. Learning how to top a cannabis plant is perhaps the most critical skill in the repertoire of high-stress training (HST) techniques. In its natural state, cannabis exhibits a growth habit known as apical dominance, where a single central stalk grows toward the light source, creating a conical shape. This evolutionary trait is designed to maximize light capture in competitive environments but is often counterproductive in controlled indoor or greenhouse settings. By understanding the hormonal mechanics of the plant, specifically the role of auxins, growers can manipulate the plant’s architecture. Topping involves the strategic removal of the terminal bud, which disrupts the flow of these growth hormones and redistributes them to lower axillary buds. This intervention forces the plant to develop two main colas instead of one, while simultaneously encouraging lateral growth. The result is a more uniform, manageable canopy that utilizes light more efficiently, leading to a substantial increase in overall floral density and harvest weight.
Mastering the Canopy: A Comprehensive Guide on How to Top a Cannabis Plant
The Biological Mechanism of Apical Dominance
The primary driver behind the vertical growth of cannabis is the production of auxins in the apical meristem, or the very tip of the main stem. These hormones travel downward through the plant’s vascular system, suppressing the development of side branches. This biological phenomenon ensures the plant reaches higher toward the sun, outcompeting neighboring vegetation. However, in a controlled grow room, this leads to a “hot spot” where the main cola is too close to the light, while the lower branches remain shaded and underdeveloped.
When a cultivator decides to top their crop, they are performing a hormonal reset. By removing the primary source of auxins, the plant immediately redirects its metabolic energy to the secondary nodes. This lateral expansion creates a multi-top canopy, allowing for more even distribution of photosynthetic energy. Mastery of this technique is essential for anyone looking to optimize their square footage and achieve professional-grade results.
Determining the Optimal Timing for Training
Timing is a critical variable when learning how to top a cannabis plant. Performing the procedure too early can permanently stunt the growth of a young seedling, as it lacks the root mass and foliage to recover from the stress. Conversely, waiting too long allows the plant to invest significant energy into a main stalk that will eventually be discarded. The consensus among professional growers is to wait until the plant has established a healthy root system and developed between four to six nodes.
| Growth Stage | Node Count | Action Recommendation |
|---|---|---|
| Seedling | 1–2 Nodes | Do Not Top; focus on root development. |
| Early Vegetative | 3–4 Nodes | Safe for experienced growers with vigorous genetics. |
| Established Vegetative | 5–6 Nodes | Ideal Timing for first topping session. |
| Late Vegetative | 8+ Nodes | Topping is possible but may require longer recovery. |
Precise Steps for How to Top a Cannabis Plant Effectively
To execute a successful top, precision and sanitation are paramount. The goal is to make a clean cut that minimizes tissue damage and prevents the introduction of pathogens. Always use a sterilized pair of micro-tip pruning shears or a razor blade. Locate the uppermost node of the plant and identify the tiny emerging growth tip tucked between the top fan leaves.
- Sanitize your cutting tool with 70% isopropyl alcohol to prevent infection.
- Identify the fifth or sixth node from the base of the plant.
- Gently pull back the fan leaves to expose the terminal bud (the main stem tip).
- Make a clean, horizontal cut across the main stem, approximately 5mm above the lateral shoots of the chosen node.
- Ensure you do not damage the two small secondary shoots, as these will become your new primary colas.
Tools for the Procedure
While some growers prefer “pinching” with their fingernails, this is generally discouraged in professional settings. Pruning shears provide a surgical cut that heals faster and reduces the risk of the stem splitting. Maintaining a clean environment during this process ensures that the plant’s vascular system remains uncompromised by mold or bacteria.
Topping versus Fimming: A Strategic Comparison
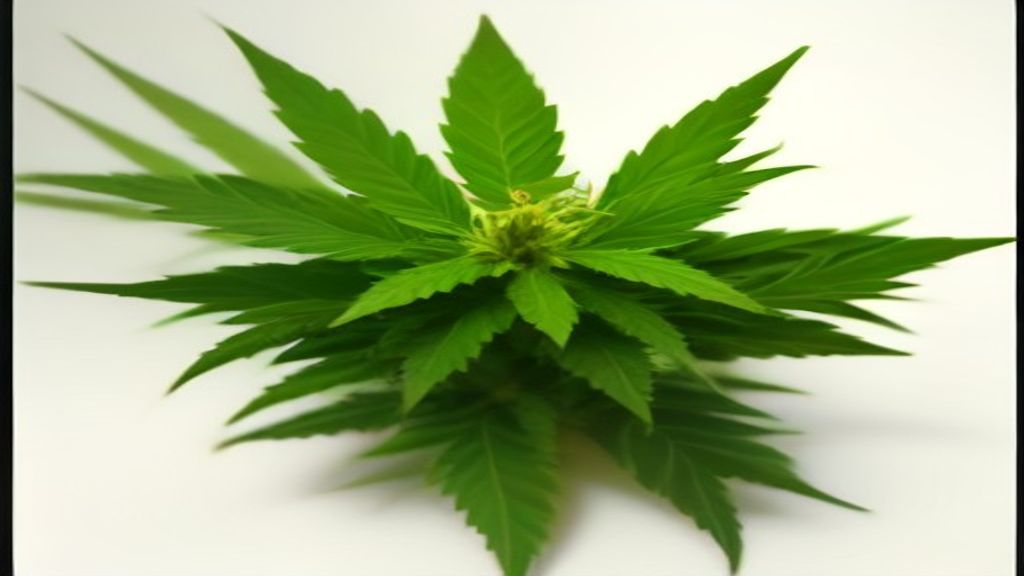
Topping is often compared to “FIMing,” another high-stress training technique. While both involve removing growth tips, the execution and results differ. Topping is a definitive cut that results in two main branches, whereas FIMing involves removing only a portion of the growth tip, often leading to four or more new branches. The choice between them depends on the desired canopy shape and the grower’s patience for recovery.
| Feature | Topping | FIMing |
|---|---|---|
| Stress Level | High | Moderate |
| New Main Colas | Exactly Two | Four or more |
| Canopy Control | Excellent / Predictable | Variable / Less Uniform |
| Recovery Time | 3–5 Days | 2–4 Days |
Post-Training Care and Recovery Management
Once the cut is made, the plant enters a brief state of shock. It is normal for growth to appear to stop for a few days while the plant recalibrates its hormonal balance. During this time, it is vital to maintain a stable environment. Avoid making other major changes, such as transplanting or shifting nutrient schedules, for at least 48 hours following the procedure.
Environmental Optimization for Healing
To facilitate a speedy recovery, ensure that your humidity levels remain between 55% and 65%. High humidity prevents the fresh wound from drying out too quickly, which can cause the stem to crack. Additionally, ensure the plant is receiving adequate nitrogen, as this mobile nutrient is essential for the rapid development of new vegetative tissue. Within a week, you should observe the two lateral shoots at the cut site beginning to stretch vertically.
Key Takeaways for Successful Training
- Always prioritize sanitation to avoid fungal infections at the wound site.
- Never top a plant that is already showing signs of nutrient deficiency or pest stress.
- Topping should only be performed during the vegetative stage; never top during the flowering phase.
- The primary benefit is canopy uniformity, which leads to better light penetration and air circulation.
Frequently Asked Questions
Can I top my plant more than once?
Yes, you can top the new branches once they have developed their own set of 3–4 nodes. This allows a grower to turn two main colas into four, or four into eight, creating an exceptionally bushy plant. However, each topping session adds to the total vegetative time required before flipping to the flowering stage.
Is it possible to top an autoflower?
Topping autoflowers is a subject of debate. Because autoflowers have a fixed lifespan and begin flowering regardless of light cycle, they have limited time to recover from high-stress techniques. Only top vigorous autoflowers that show exceptional growth by day 15–20.
What happens if I top too late?
Topping during the late vegetative stage or early flowering can significantly reduce yields. During flowering, the plant shifts its energy from structural growth to floral production. Removing growth tips at this stage removes the very sites where buds are forming, and the plant may not have the hormonal capacity to redirect growth effectively.
About the Author